Inventory Locations
You can create location hierarchies in Boltline, allowing for Inventory to exist anywhere in the tree. Navigate to Inventory, then Locations in the Boltline navigation sidebar.
Creating a location
- Click the
+ New Locationbutton. - Add your the Name of your Location (e.g. "HQ").
Unique Locations!
Location names must be unique to avoid confusion.
- Click
Saveto create the location.
Your new location has been created and is ready to receive Inventory!
Assigning an Address
If you have already created addresses you can now assign them to an Inventory Location.
- Select the turning arrow
Change Addressbutton on the line of interest.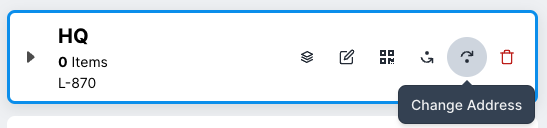
- Select the Address to assign.
- Click
Submitto assign the address.
The Address is now associated with your Location.
Adding Child Locations
To create the location hierarchy:
- Select the Location to create a child location.
- Click the
+ Add Child Location in HQbutton. - Add the name of the child location (e.g. "Warehouse 1").
Your child location has been created. Repeat this to create your location hierarchy.
Reparenting a Child Location
If you need to move a child location and its child locations:
- Select the child location you want to reparent.
- Click the turning arrow
Reparent Locationbutton
- Enter and select the new parent Location.
- Click
Submitto reparent the child Location.
The Child Location has a new Parent!
Renaming a Location
Renaming a location in Boltline is easy
- Select the Location you want to rename.
- Click the
Renamebutton.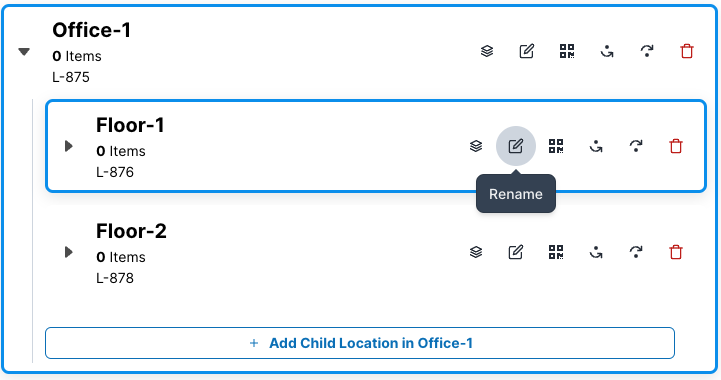
- Modify to the new name.
Unique Sibling Names!
Boltline requires Location Names to be unique within the same level. e.g. "HQ" has to be unique as root level locations
- Click
Submitto save.
The Location has a new name!
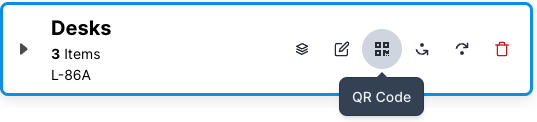
Creating a label
You can create a QR-encoded label for a location that will allow you to create a URL or QR code that redirects to a filtered list of inventory items for that location.
Viewing Location Inventory
Click on the View Inventory button on a specific location.
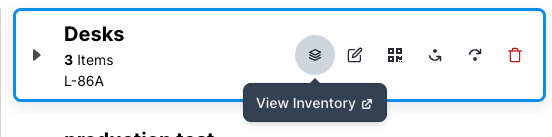 You will see a filtered list of Inventory Items for that specific location.
Deleting a Location
Deleting a location that has inventory will also delete any Inventory in that Location!
We recommend moving an Inventory's Items before deleting the location.
To delete a location:
- Find the location you wish to delete.
- Click the trashcan
Deletebutton.
The Location has been successfully deleted.